Getting set up before we start
![]()
Getting set up before we start
Doors open 09:30 — workshop teaching starts at 10:00
Pre-workshop setup

If setup is already complete: grab a coffee and check you can open a terminal and reach the login node.
![]()
Step 1: Initial account setup
- Go to https://portal.isambard.ac.uk/
- Sign in: University Login (MyAccessID) → University of Exeter → your Exeter credentials
- Follow on-screen instructions — accept the acceptable-use policy and the workshop project invitation
- Choose a UNIX username:
https://docs.isambard.ac.uk/user-documentation/tutorials/setup/#how-to-set-your-unix-username
If these notes are too brief — follow the full instructions at the link above.
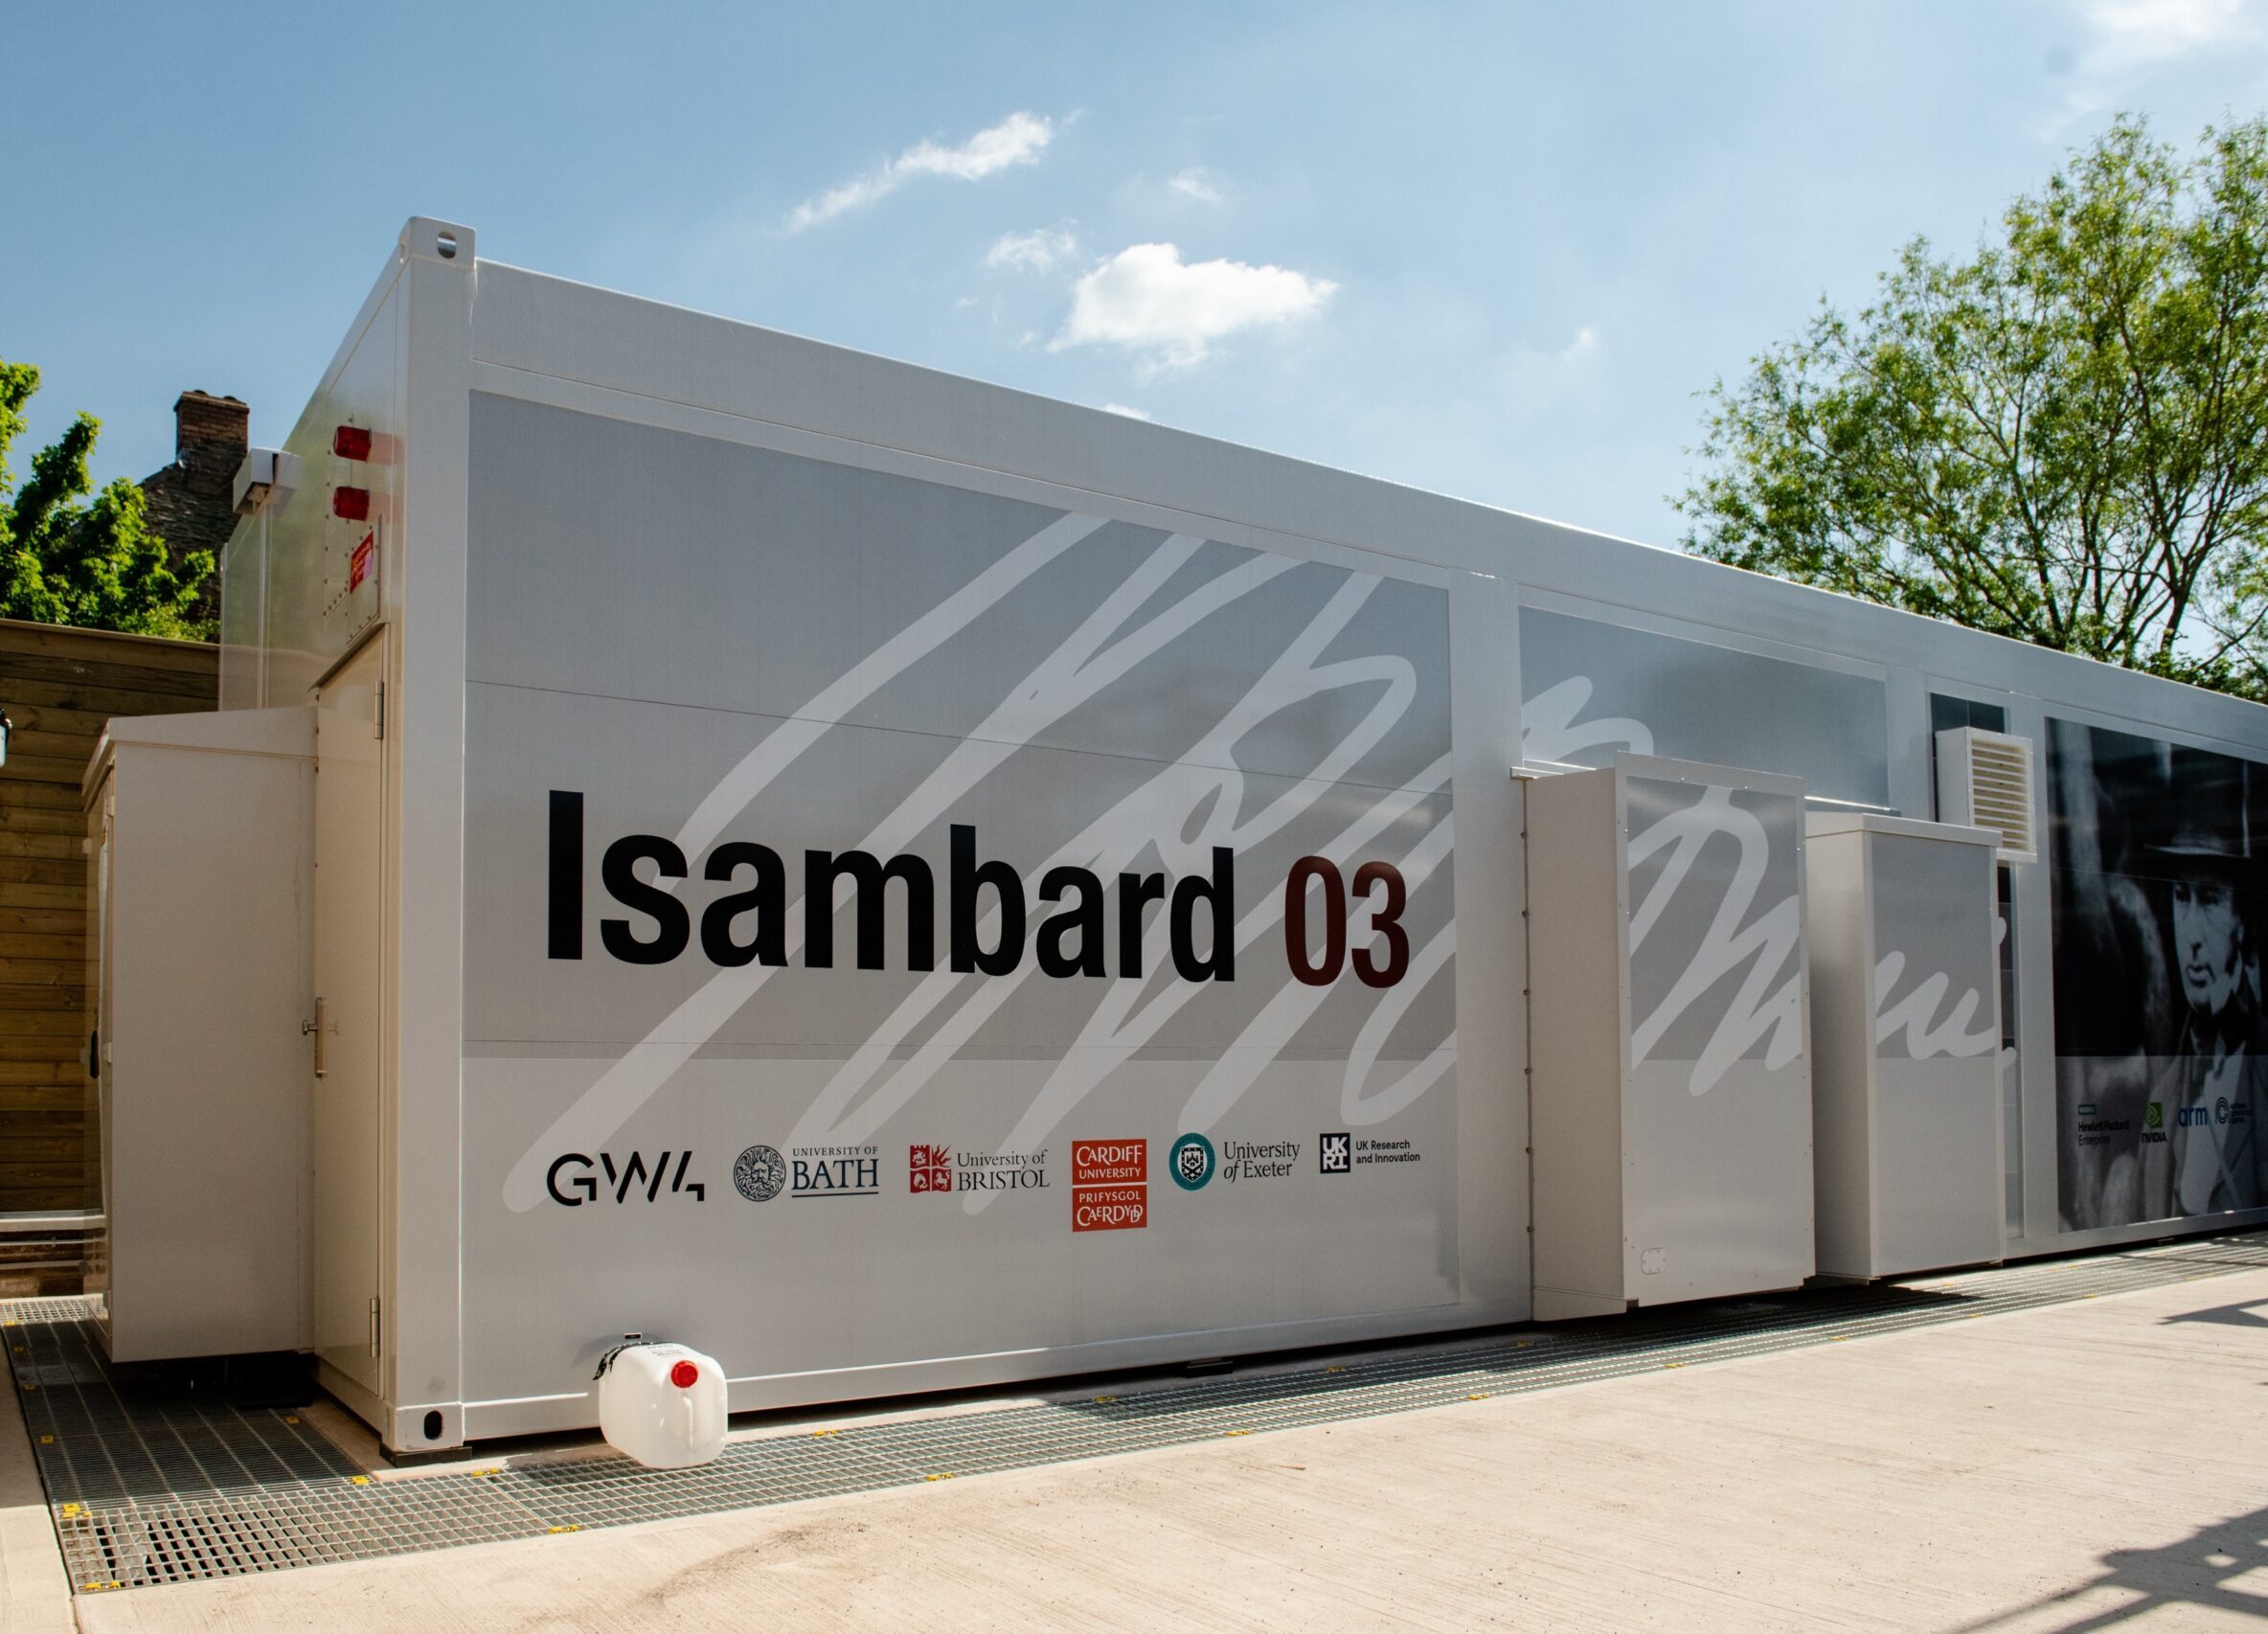
The Isambard 3 portal
Simple project dashboard:
- User dashboard — lists projects you belong to
- Click a project — shows compute usage and NHR (Node Hours Remaining)
Workshop project:
exeter-workshop-260421
Project alias: e6c (used in SSH host
aliases)
Step 2: Clifton and SSH access
Install Clifton on macOS/Linux:
bash <(curl -L https://raw.githubusercontent.com/UniExeterRSE/gw4-isambard-3-practical-workshop-2026/refs/heads/main/bootstrap/install/clifton.sh) installThen authenticate and connect:
Authenticate in the browser. Clifton will then suggest:
You may now want to run `clifton ssh-config write` to configure your SSH config aliases.Run it, then SSH in:
Using Windows? Follow the official guide
Issues? Open a ticket
Example clifton auth output:
Successfully authenticated as **@exeter.ac.uk and downloaded SSH certificate for projects:
- e6c
Certificate valid for 11 hours and 59 minutes.

Available SSH host aliases:
 - e6c.macs3.isambard
- e6c.3.isambardStep 3: VS Code CLI
Install the VS Code CLI on Isambard 3 (do this once, before the workshop):
bash <(curl -L https://raw.githubusercontent.com/UniExeterRSE/gw4-isambard-3-practical-workshop-2026/refs/heads/main/bootstrap/install/code.sh) installLaunch a browser tunnel (run this each session from the login node):
Follow the on-screen instructions to authenticate. When you see:
Open this link in your browser: https://vscode.dev/tunnel/isambard3/...Copy that URL and open it in a browser tab. You now have a working editor connected to Isambard 3.
Fallback — if the VS Code CLI is unavailable, load Emacs instead:
Prefer another editor? Desktop VS Code, vim, nano all work — bring it set up. We will not troubleshoot alternative editors during the session.
If you cannot log in
Passive follow-along for the rare attendee with an access problem
If you are still having trouble connecting after the 09:30 setup window:
- Follow along on the projected screen for now — you will still get value from watching the workflow.
- Flag it to a helper so we can try to diagnose the issue during a break.
- Reply to the pre-workshop email if the project invitation never arrived — we can investigate after the session.
Access issues on the day are rare if the pre-workshop steps were completed. Do not let it derail the room.